

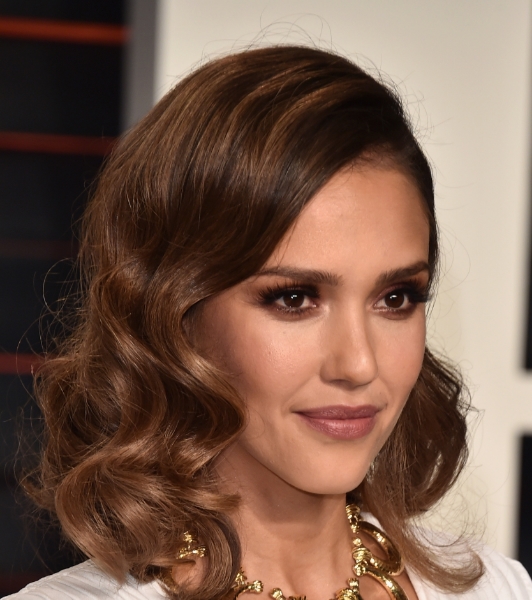
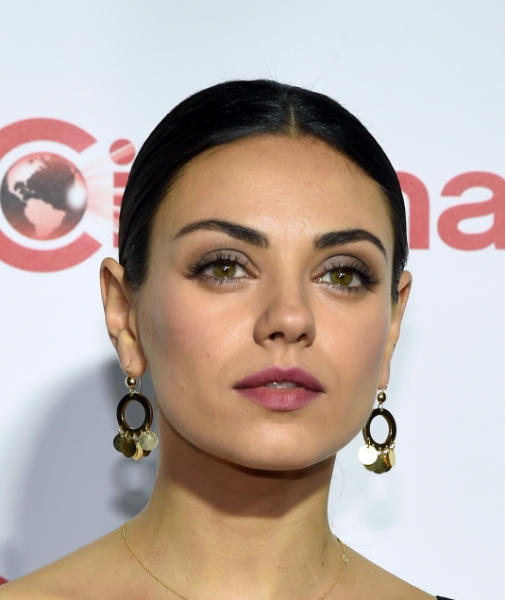
The Smokey eye makeup look is timeless and always interesting to talk about. Mila Kunis, Keira Knightly and Jessica Alba choose it time after time so why don’t we?
Why is the smokey eye makeup look so successful? Simply because it’s so hot and sexy. The eyes get so much attention with this look that nobody can ignore them.

Smokey eye makeup application has a lot of versions, and each one is remarkable: you have options like classic smokey eye, smokey cat eye makeup and light to dark smokey makeup style. Each style has a lot in common with the others, and they all use the same techniques that beautiful, soft and blurred eyeshadow lines.
Yes, all those versions are gorgeous, but the classic smokey eye makeup version is probably the best one to start with. Once you learn all about this version you can move on to try other versions.
The 7 steps that you need to learn for this style are very simple, and you don’t have to be experienced in order to succeed. Just give it a try!
Smokey eye makeup application - step by step:

The secret of a successful smokey eye makeup application is blending, blending and more blending! Most of the makeup will be focused on the center of the eye. The color goes from the eyelashes line and gets blurry until it reaches up.
Before you start, make sure you have all of the supplies that you need to create this look:
Brushes: fluff brush, flat brush
Eye pencil – one shade darker than your eyeshadow
Mascara


Let's start:

Applly primer on your eyelid – this will help your makeup last for many hours. Apply a small amount of your favorite primer with a clean finger (I used the excellent "too faced shadow insurance primer"). Blend the primer from your lash line into your brow bone covering the surface evenly. Wait for 30 seconds to let it dry and then apply eyeshadow. Don’t apply the eyeshadow before the primer dries!

2. With eye pencil, draw a line over the upper lashes line. This line doesn’t have to be perfectly sharp and accurate because it will be blurred in the following steps. Your eye pencil color should be one tone darker than your eyeshadow color (I am using "Urban Decay 24/7 glide-on eye pencil").

3. With flat brush blend your eye pencil line a little up from your upper eyelid.
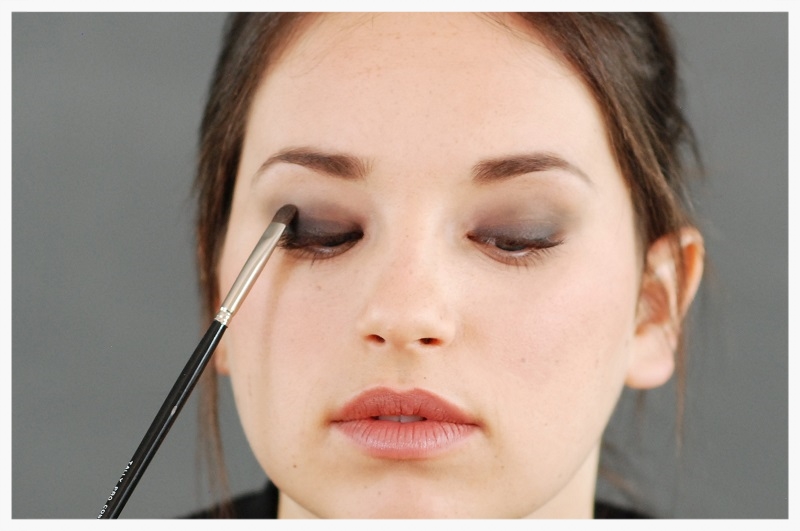
4. Spread an eyeshadow over your eyelid with fluff brush. Use medium to dark eyeshadow color. You can choose any color that you like from "Naked smoky palette". Use light colors for a softer look, or grey to black for more dramatic flair. Don’t worry about using dark colors over your eyelids. As long as you will use darker color eye pencil, your eyeshadow will look surprisingly lighter.

5. Line your inner lower eyelashes lines with your eye pencil.

6. With clean fluff brush, go over your eye socket and over the lower lash line. It will blend the eyeshadows together creating a soft and gentle look.
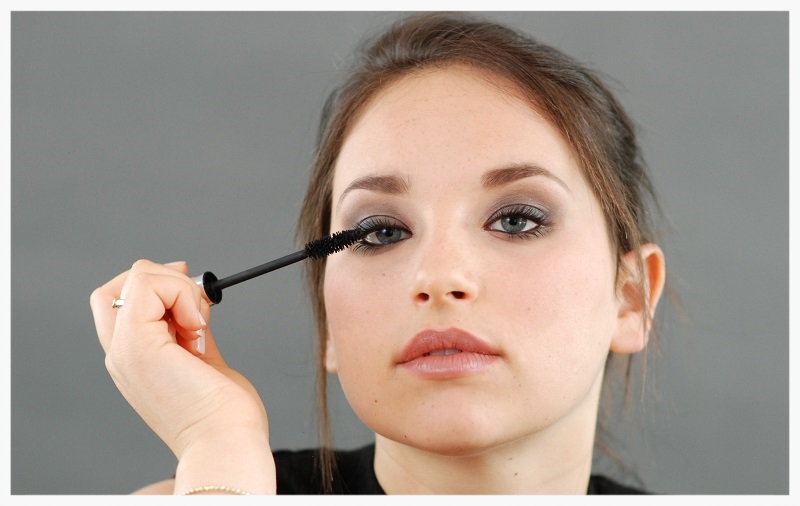
7. Apply mascara – for an everyday look, use mascara with a very gentle thin comb (I love benefit's "BADgal mascara"). For an evening look, you can add more volume to your eyelashes with a thicker comb.
Keep all the rest simple!
Another advantage of using smokey eye makeup application techniques is that after finishing the eye makeup phase, the rest of your makeup is very simple and easy. The eyes have a lot of attention so you can leave the rest of the makeup natural. The overall look that you want to maintain will be very fresh, warm and beautiful.
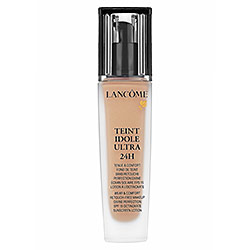
Use a transparent foundation, a bronzer to shade and shape the face, and a wine colored lipstick to complete this gorgeous smokey eye makeup.


Follow those wonderful steps and you will succeed - your eyes will pop and you will look divine!!
Good luck!
Related pages:


