A tip for Smokey makeup

smokey eye makeup

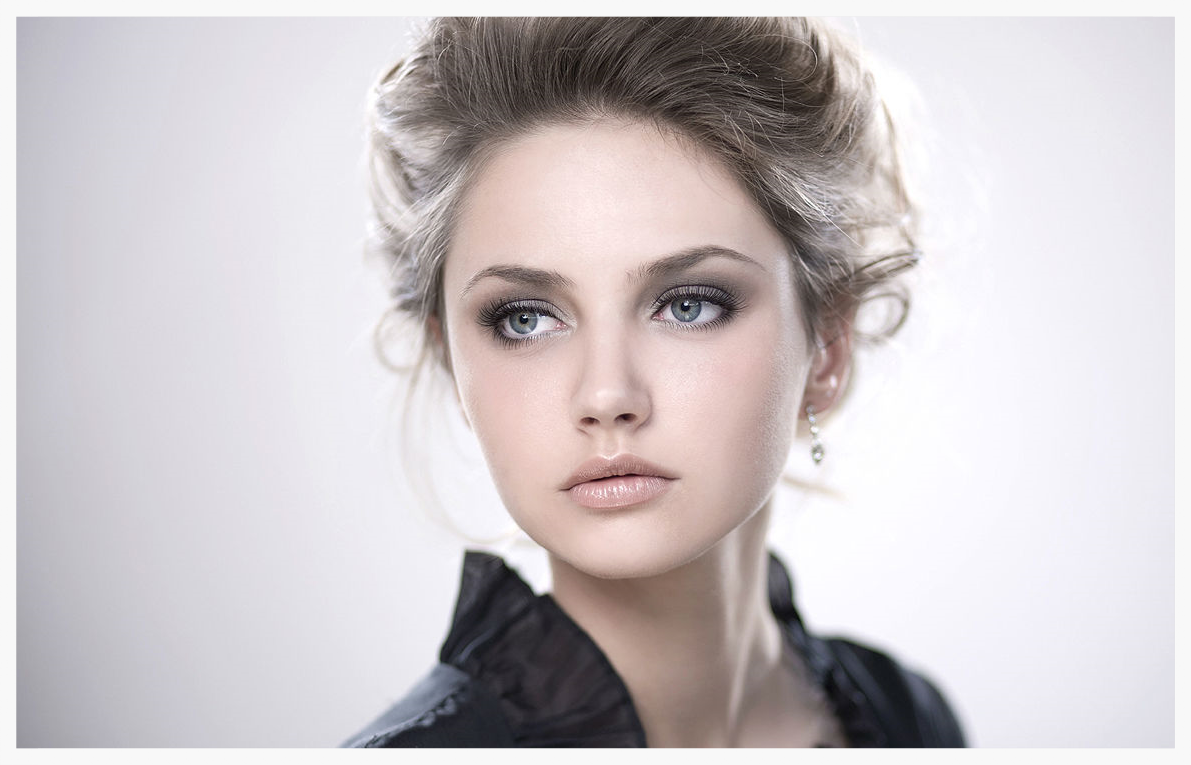
Smoky makeup is the kind of makeup that is timeless and elegant. This type of look is one that many people are often trying to accomplish. Personally, I like to play around with different smoky looks, depending on if I am applying makeup for daytime or going out at night.

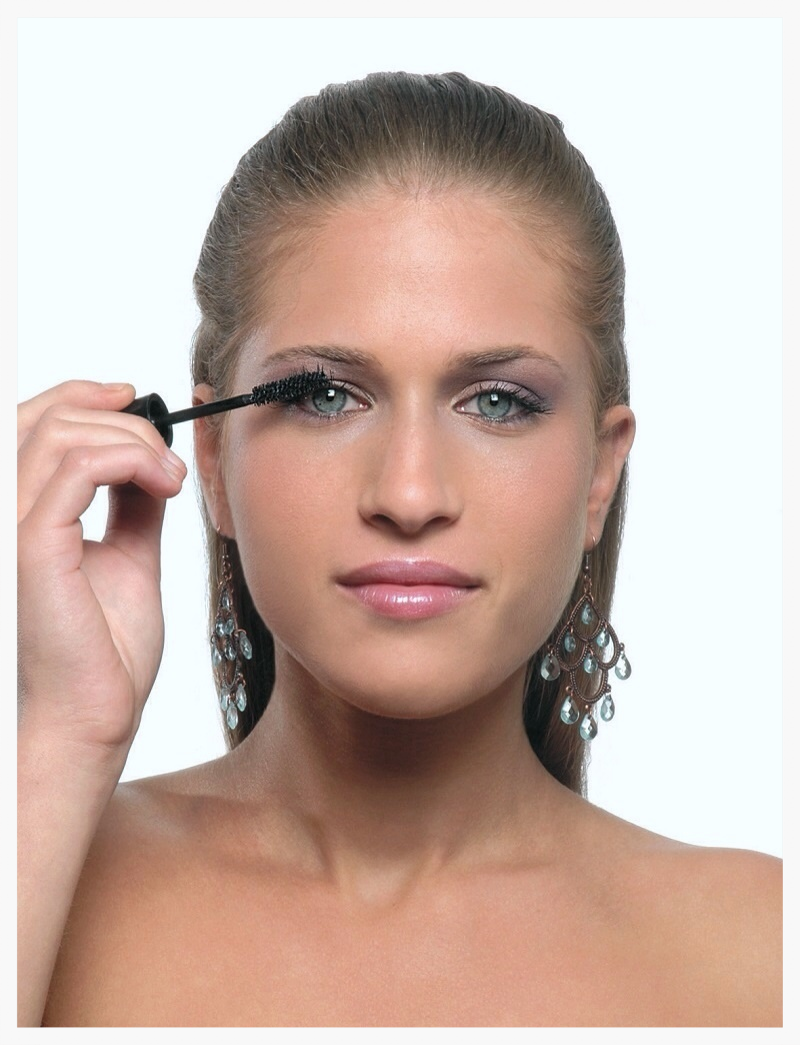
With a smoky style of makeup, the eyes are beautifully emphasized. It is important to apply the eye shadow carefully and make sure that it doesn’t scatter around the rest of your face, smudging the rest of your makeup. One great tip when going for the smoky makeup look is to start with the eyes, just in case. Apply your foundation to the rest of your face after you are finished with your eyes, so that you can wipe up any scattered eye shadow without creating a mess.


further reading:

Off to the Gym!

gym makeup tips

Keeping an exercise routine is important for good health! I have to admit, I am not always as disciplined about it as I should be. I do love my Pilates class, and I make sure that I am strict about getting in regular walking for a great cardio workout, though!

I am not a huge fan of being heavily made up when I am working out, and, this is also not very good for your skin! But, I don’t always like to go totally plain-faced, either. I usually opt for the motto, “Go with and feel without” when it comes to my workout look. This means that I apply very light makeup, which gives me a fresh look, but not too meticulous or perfectly done. This is important, because once you start to sweat, you don’t want to have tons of makeup streaking down your face! Plus, it won’t clog your pores and lead to breakouts.

Here are my recommendations when it comes to makeup for working out:

  1.  Apply a very thin layer of foundation, lightly.
  2.  Add a bit of blush or bronzer, this helps prevent you from appearing too “washed out” or pale.
  3.  Add some lip gloss (don’t leave home without it!).

This process will keep you looking fresh faced and beautiful, and you will enjoy your workout without having to worry about messing up your makeup!

Stay healthy and fit!

Spring Has Finally Arrived!

peach eyeshados
spring eye makeup look

Every year when spring arrives, I get excited for leaving behind the heavier winter looks and switching to lighter, breezier and fresher look that is perfect for the spring weather. One addition that I usually make is to add in a peach tinted blush, which gives my makeup look a nice, light dimension. This look suits nearly everyone, and really brightens things up after a long winter.

When I use this look, I make sure to tan my face before applying the blush, using a slightly darker foundation. This helps to bring out the peach color beautifully! Here are the steps that I use:

  1.  Apply foundation with a slightly tan hue all over the face
  2. Decide where the best place to apply blush is—I choose the “cheek apples”
  3. Smile often, for a soft and feminine look!

Enjoy! Be beautiful!


Further reading:

Lip Gloss: A Must Have Item for Any Bag!

lip glosses


No bag or pocketbook is complete without lip gloss! It is smart to have several, so that you can keep one handy at all times. I know that I often turn to lip gloss to add some shine to my lips, with or without lipstick. When I am wearing lipstick, it makes the color last much longer. When I wear only lip gloss, sometimes the nice tint gives just enough color to make my face look fresher.

When you make your lips look shiny, it creates a very glamorous effect. Your lips will appear fuller and more sensual—this is a look most women are often trying to achieve.

Here are a few tips for applying lip gloss so that it can look as beautiful as possible:

  1.   Apply the lip gloss to the inner part of the lips, so that it does not go beyond the edges of the lips onto your skin, This gives a messy look!
  2.  Apply the lip gloss on the inner part of the lower lip first, and then put your lips together to even out the gloss and create a balanced look.

Perfect!!

Makeup Mistakes: How to Correct Mascara smudges!

smudge proof mascara

Have you ever had to leave the house in a hurry and quickly tried to apply your makeup? This is often a recipe for disaster, at least for me! But, fortunately, I have learned how to quickly correct the most common mistakes so that I don’t have to start the entire process over and lose more time.

Personally, mascara is usually the biggest offender for me when it comes to mistakes. Because I have light, colorless eyelashes, I never like to go without mascara. But, every time I hurry, of course, I end up with a smudge! So frustrating!

I have learned how to handle the smudges quickly and effectively, so that I can keep the mascara looking fresh and properly applied—without smudges. Next time you get a smudge on your eyelid or under your eye, the most important thing you can do is let it dry. Resist the urge to wipe it away with your finger while it is still wet—this can often lead to makeup disasters that take much longer to fix because you will smear it all over and end up having to fix your entire eye makeup. Instead, once it is dry, use a cotton Q-tip to gently rub the smudge clean. It only takes a second, and the smudge will be gone—as if it never happened!

Good luck!

How to Use a Foundation Brush

Foundation brushes

I only learned about how to use a foundation brush in the last few years, and it took me some time to be convinced that it was something I needed in my makeup bag. With so many different kinds of brushes on the market, I felt that I had to experiment to find just the right one, the one that was going to work best for me!

 I prefer the ones that are not too thick and easy to manage (eg. Bobbi Brown foundation brush). This allows me complete control when I am applying the foundation, and keeps the application even and natural looking. It’s even easy to get to the “hard to reach” spots, like the crease on the side of your nose or the corners of your eyes.

It’s important to keep your foundation brush very clean, if you want it to really work well. It rinses out very easily!

Most girls are still using their fingers to apply foundation, which can work well, but, give the brush a try and you will definitely notice a difference! It’s quicker and the results are so natural looking and even that you will be surprised and love it!

Can Lipstick last longer?

lpistick last longer

My absolute favorite way to add some color to my makeup is by putting on the perfect lipstick. Even on days when I wear little or no makeup, I would never skip the lipstick! Lipstick gives an instant boost to your face, making you look fresher and more beautiful. But, one of the problems with lipstick is that it often does not last as long as you might like.

If you apply your lipstick using these steps, you will find that the color continues to shine all day long:

  1.  Apply the first layer of lipstick to clean lips.
  2.  Use a tissue to absorb any oily remains or moisture on the lips.
  3.  Apply a small amount of powder to the lips using a sponge and a light touch. Be careful to not smudge the lipstick!
  4.  Apply another coat of lipstick over the powder.


cleaning lipstick residues
Applying lipstick
Applying lipstick

When you follow these steps, you will find that your lipstick lasts much longer than ever before, and that you can enjoy the beautiful look all day long! You will wonder why you didn’t learn this trick sooner…